 |
| DMC Plastic Floss Bobbins-28/Pkg |
 |
|
|
To help make winding the embroidery floss on to each bobbin I used a bobbin winder.
 |
| Bobbin Winder |
To help me to identify what the color number of the embroidery floss was on each bobbin, I bought a pack of floss number stickers. If you are using the cardboard bobbins you can just write the color number in. However, with the plastic bobbins the ink smudges right off.
 |
| DMC 6103 Floss Number Stickers, 640-Stickers |
 |
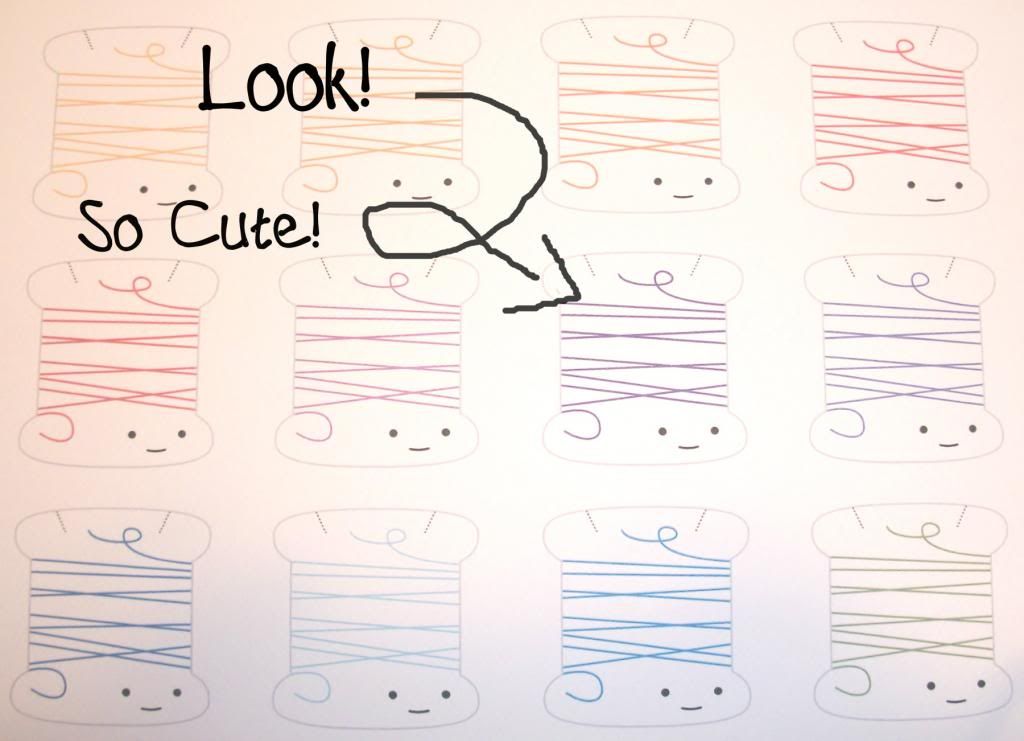
If you want to be frugal, today I came across some really cute free printable bobbins at Wild Olive. I am soooo excited! Now all I have to do is print them out on some white card stock {regular paper would be to flimsy}, and I have some additional bobbins without having to run to the craft store. Also, they have a cute design on them, unlike the regular white bobbins I usually get. The PDF printable has a total of 20 embroidery floss thread bobbins per a sheet. I downloaded and printed out a few sheets, so you could take a peek at what some of them look like.....
 |
| Floss Bobbins printable belong to Wild Olive |
In this picture is the both the cardboard and plastic bobbins along with the floss number stickers.
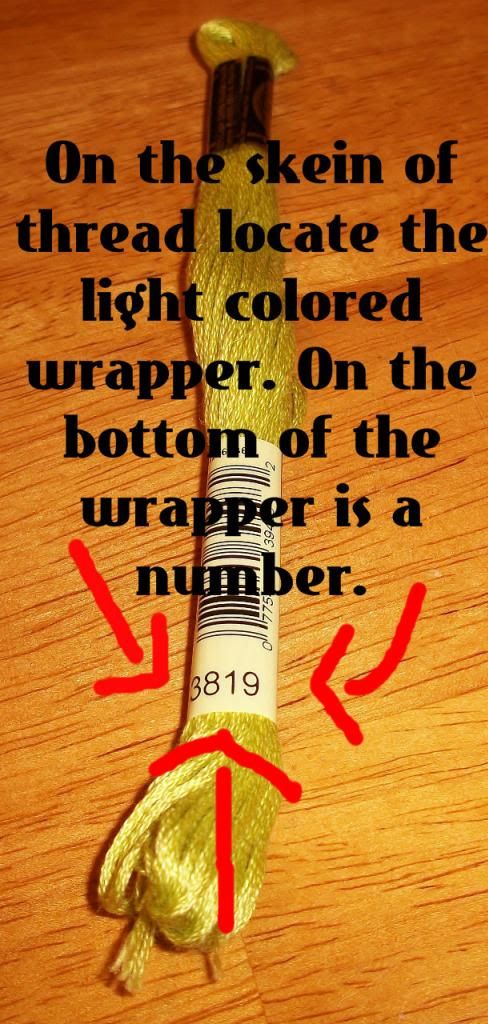
Its time to get down to business, and get this organizing project completed. We are going to start by labeling the bobbins with the coordinating color number. Therefore, you need the floss number labels, all the floss skeins to be filed, and which ever bobbins you decided to use {plastic, cardboard or printable bobbins from Wild Olive}. I decided that I will be using the plastic bobbins. First you take one skein of Embroidery Floss
Once you have found the color number, find the floss label with that same number.
Next you want to take that sticker and place it on the bobbin you are going to use. In the top right hand corner of the bobbin there is a spot that say No.________ .Now if you are using the printable or cardboard bobbins you can either use the sticker labels or just write the number on it. However, with the plastic bobbins I wouldn't recommend writing on it, as it will just smudge off.
Once you have label the bobbin wrap the color skein around the bobbin and tuck the end into one of the slots at the bottom of the bobbin. This will prevent it from unraveling.
Now just continue these steps until all of you skeins of embroidery floss are wrapped on a bobbin and labeled. Finally, you want to put all the bobbins into the organizer.
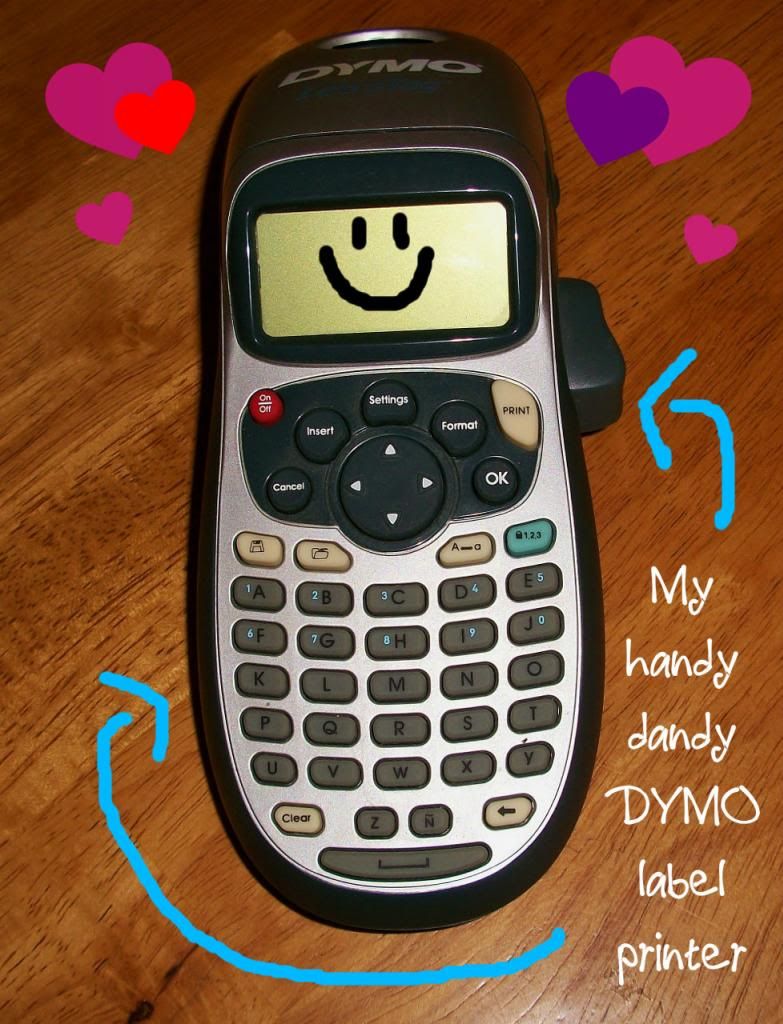
Once all the bobbins are in the organizer, close the container. If you would like, you can label the container like I did with my DYMO label maker.
You are done! Now I realize it sounds easy. However, when you have one hundred + skeins of thread it is somewhat time consuming. But it is so worth it at the end. I have wasted tons of embroidery floss just because it was so tangled together. Now when someone asks for a certain color scheme, I can easily find the colors. Also, by having them labeled you know exactly what you are looking for when you go to the craft store. No more guessing which shade of green you need when there are twenty similar shades.
Finally, before you go to the craft store there are two things that can help you remember what colors numbers you need. First, I found a printable DMC Shoppers List on the DMC website. You can just check off what colors you need and how many. You can also find conversion charts on the same page.
 |
Image from dmc-usa.com
Next if you have an android phone, there is an app called Floss Checklist in which you can keep track of what colors you have, and what you need. This app cost $1.00 to download, but to me saves time and energy.
|
 |
| Image belongs to OpeWare |
Thank you for following along on this project. I hope you found it helpful!!
Happy Crafting,
Jenn =)
Disclosure: This post contains affiliate links. This means make a small commission for any purchases you make through these links. The profits I receive helps me to pay for the costs of running this website.
Disclosure: This post contains affiliate links. This means make a small commission for any purchases you make through these links. The profits I receive helps me to pay for the costs of running this website.


.jpg)
.jpg)


I loved this tips! Tks so much!!
ReplyDeleteI'm so excited to see the part 2!!
Xx
thanks for share.
ReplyDeleteVery smart I just need that box I bought some string at good will a whole butt load and some is packagedbother is loose and tangled but it came with a pack of the lil paper wrap around things now I know I'm honna use em thanx!
ReplyDeleteI find it best to store them numerically. That way it's easy to see what you have when start a new project. No guessing. If project calls for DMC 832, just scroll thru the numbers just like you do at the store. No need to wonder if you put with the gold/yellows or the browns
ReplyDeleteThat is a really good idea as well! For me, I guess it has always been a habit to put like colors together. However, if storing them numerically is easier...the go for it!! =D
DeleteI'm sitting here winding bobbins and had the wild idea to try using a drill. It works and it is SO fast!
Delete